In this article, I will try to explain how to create authorization objects from Visual Studio through the Dynamics 365 Finance and Operations development environment. In my article named How to Define Authorization from Dynamics 365 Finance and Operations Interface? I explained how the authorization objects are created from the interface. As I said in that article, my preference is to create the authorization from the development environment. There are several reasons. Most importantly, objects created from the development environment can be included in version control. In this way, they will be directly in your package and the transfer to the desired environment will be made with your development. I think it’s easier to manage.
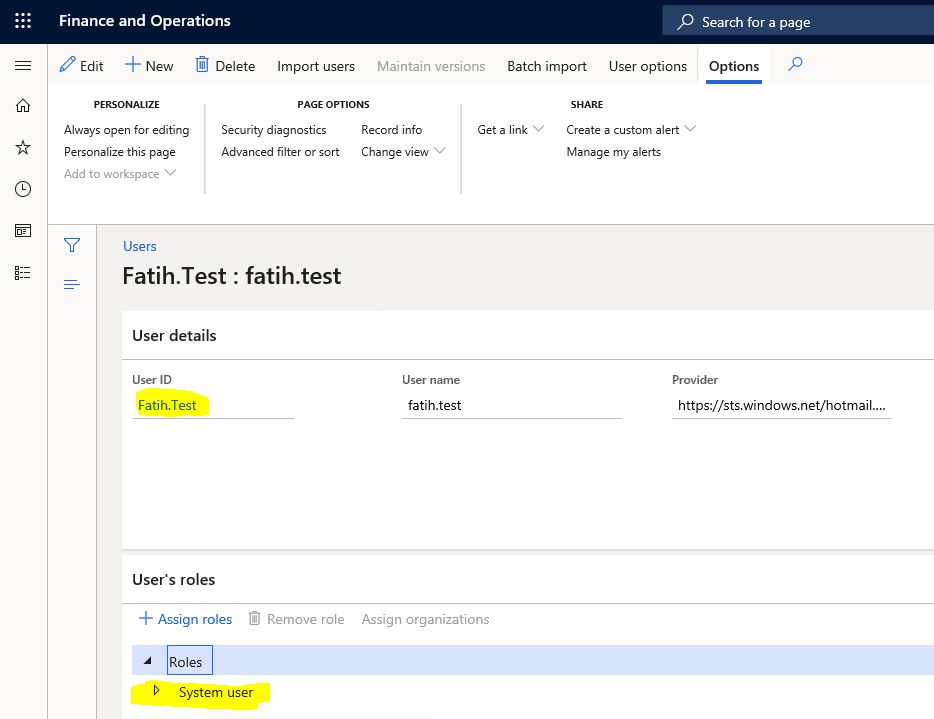
I will now do the same example that I did in my previous article through Visual Studio. My test user only has the System user role.
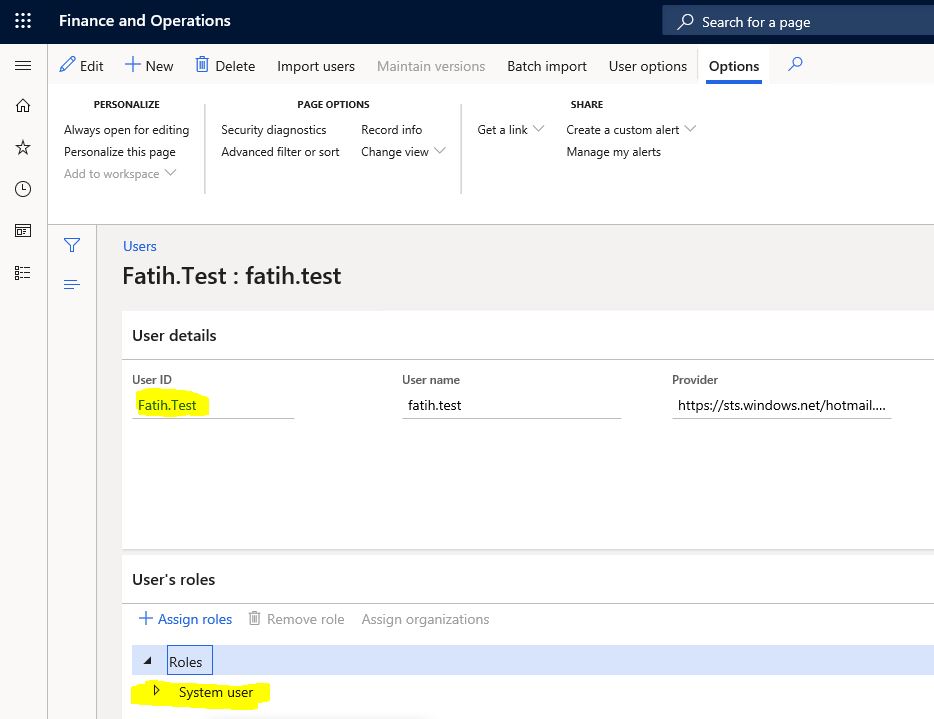
Image-1
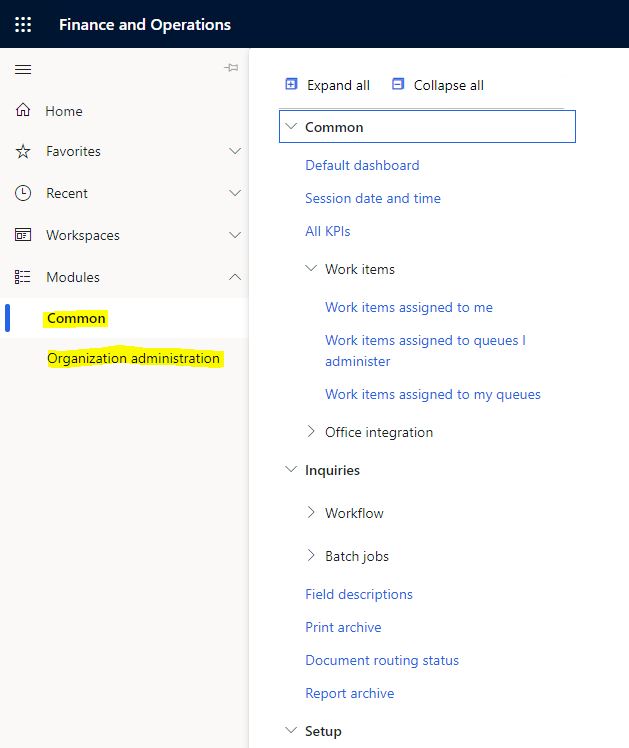
My test user can only see two modules in these roles.
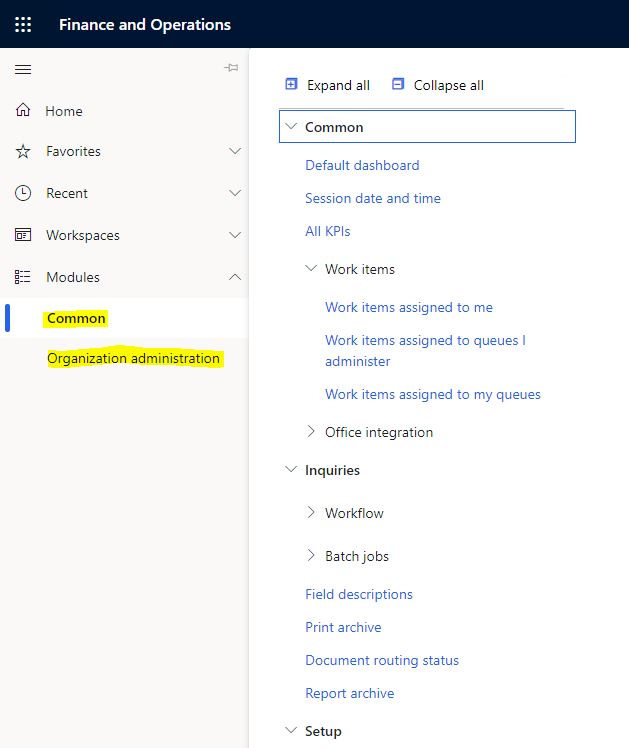
Image-2
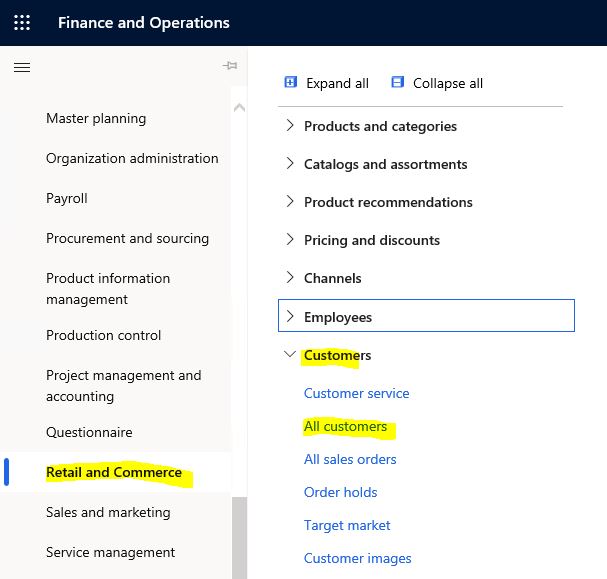
I want to authorize the All customers form.
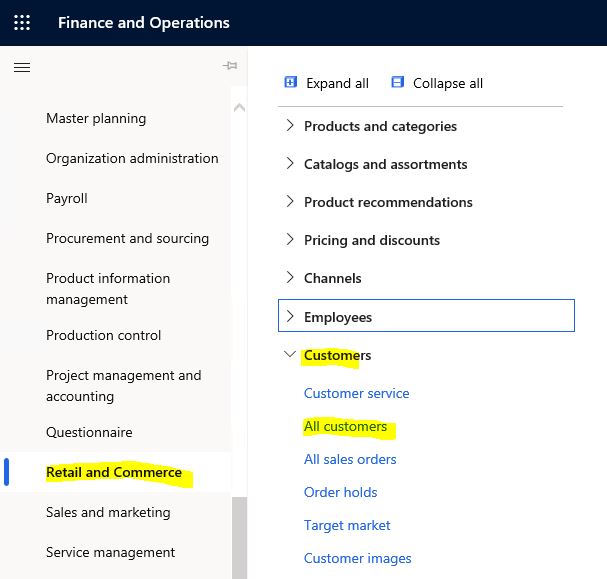
Image-3
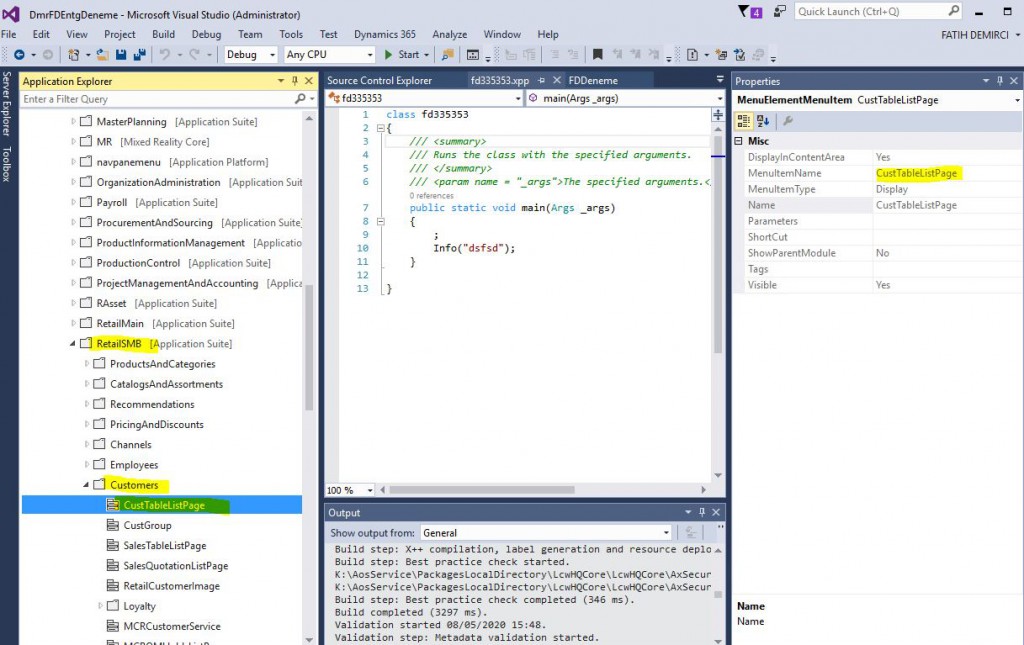
I find the relevant MenuItem on VS. This will be my entry point (EntryPoint) and all authorization assignments will be done through this entry point.
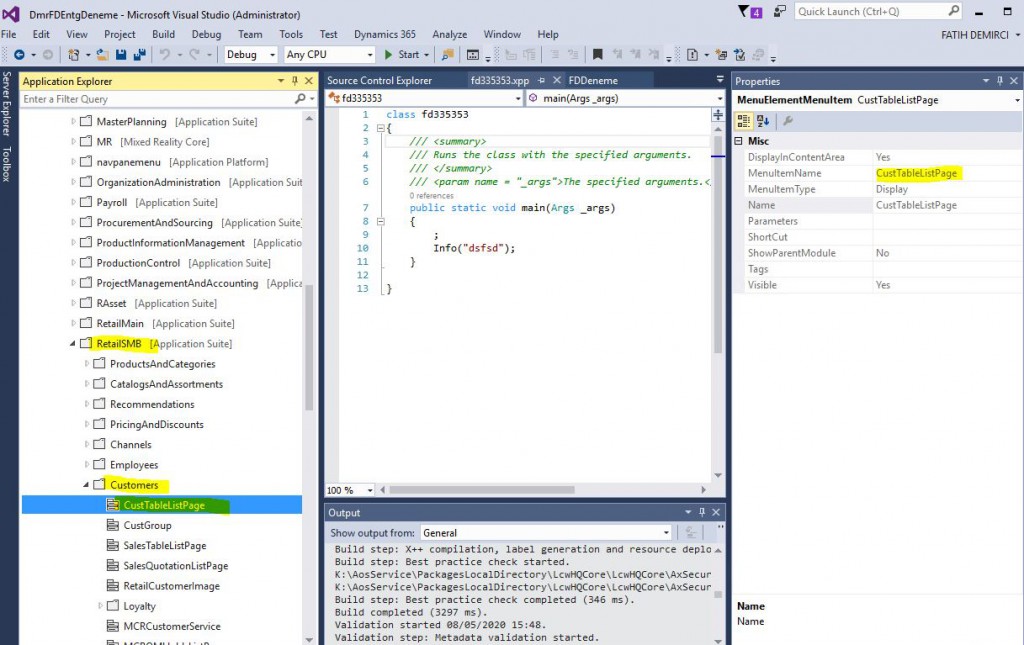
Image-4
I go to my project and add a new object.
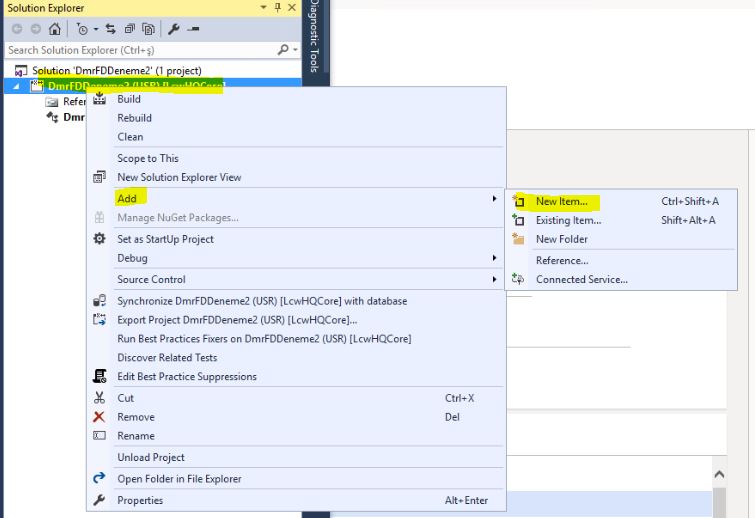
Image-5
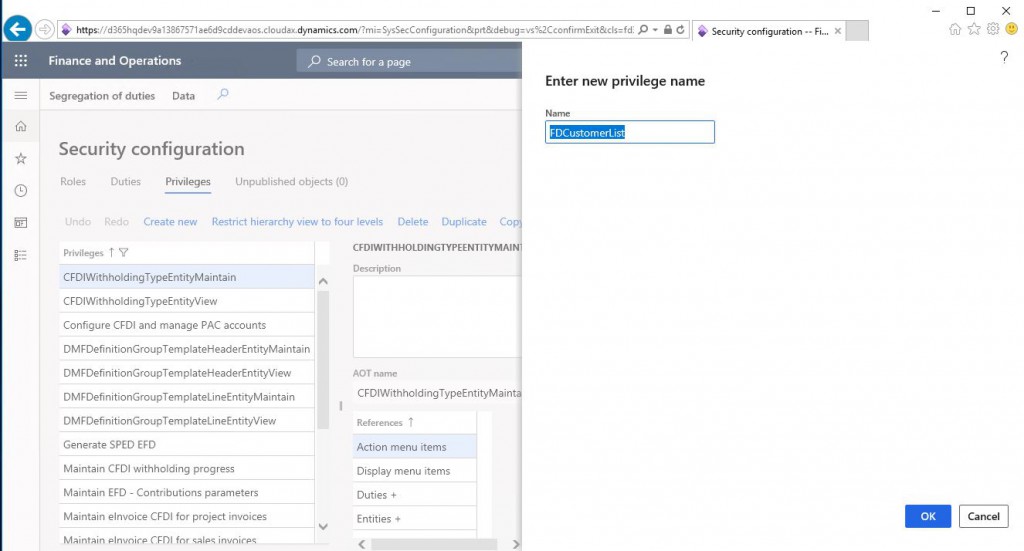
First, we will create a Privilege. I select and name it, and click add.
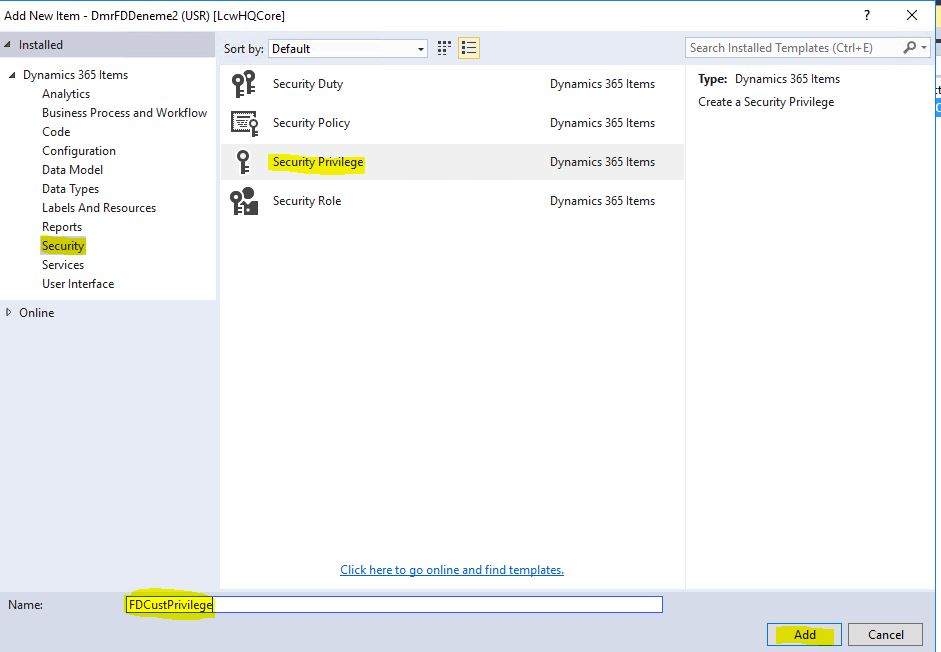
Image-6
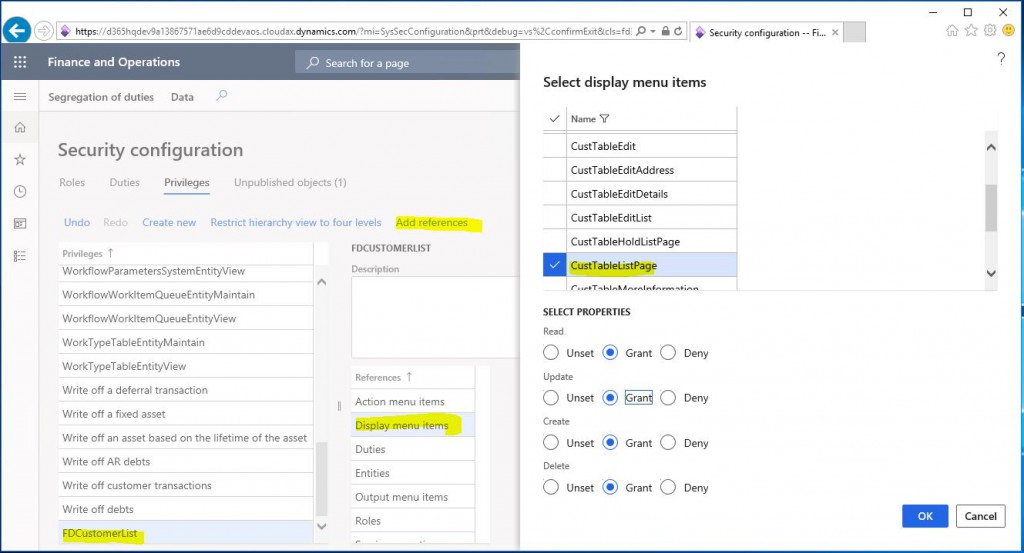
Drag and drop the CustTableListPage MenuItem to the Entry Points tab of the Privilege created. Entry point is created. From its properties, select delete as the Access Level. Delete means full authorization. You can choose the level you want from here. Update and Correct might be confusing for you. Update is the data update authorization. Correct is used in tables with Valid Time State property. Valid Time State is a mechanism that allows you to perform automatic date checks. I will prepare an article about this later.
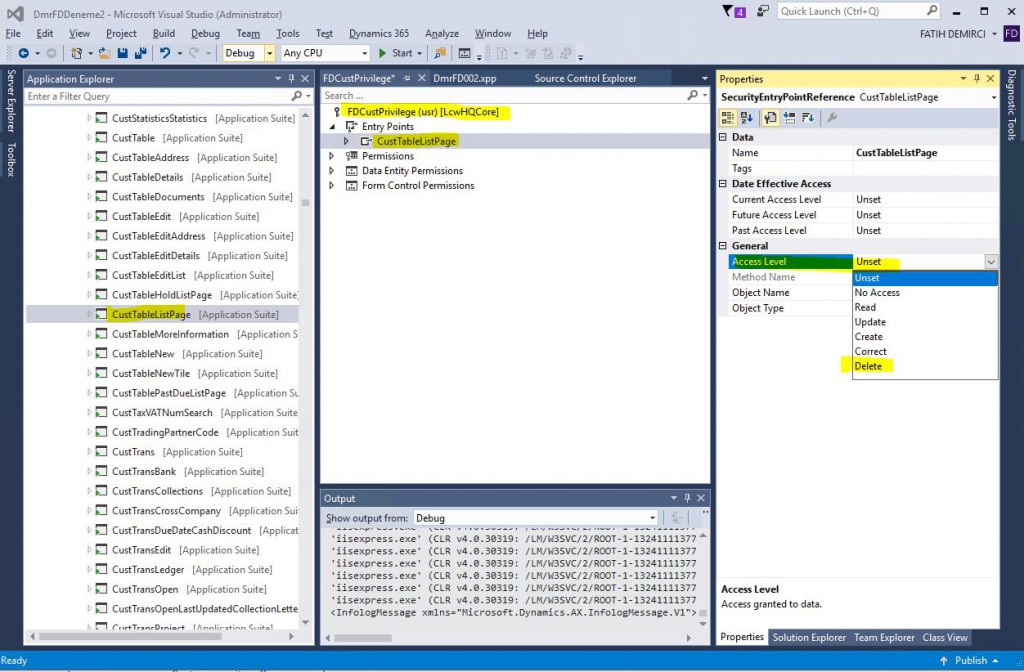
Image-7
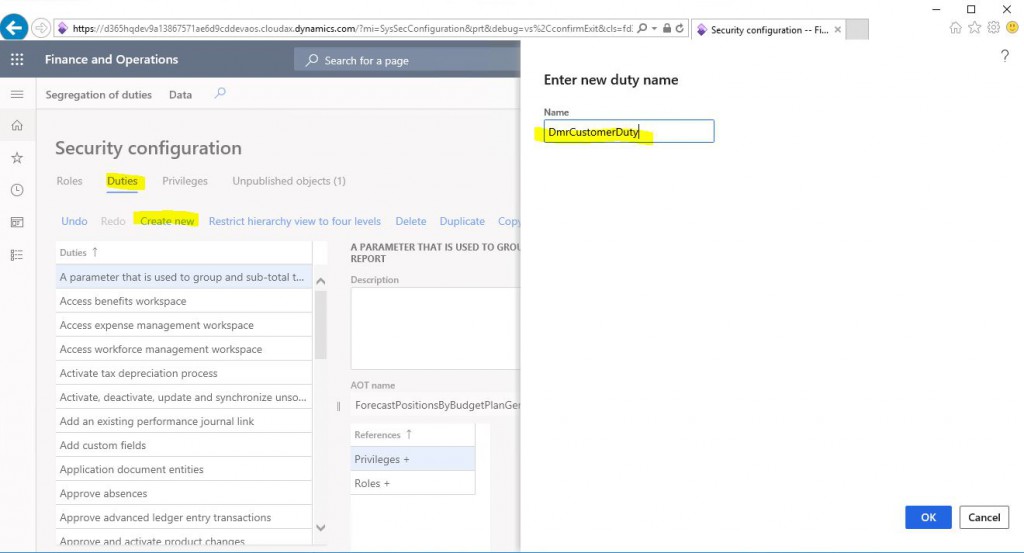
Now create a Duty.
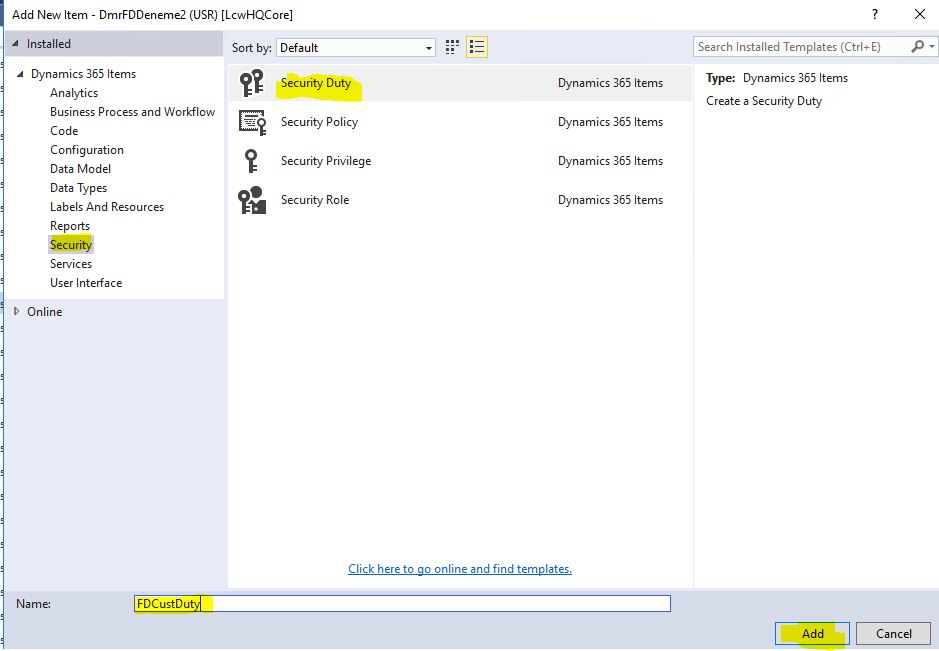
Image-8
Drag and drop the Privilege to the Duty you created.
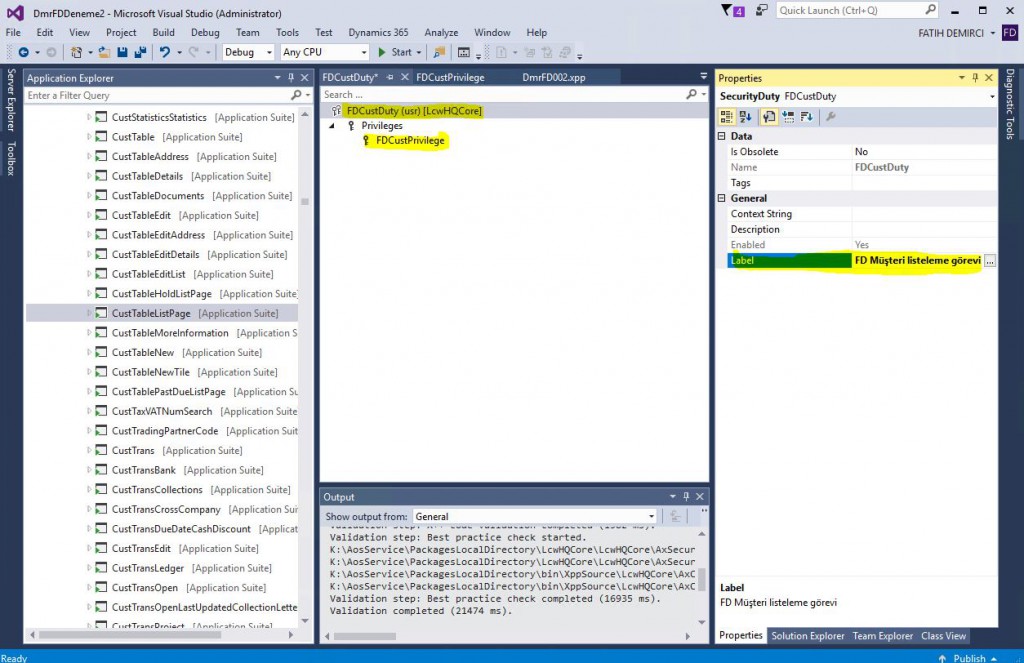
Image-9
Next step is creating a role.
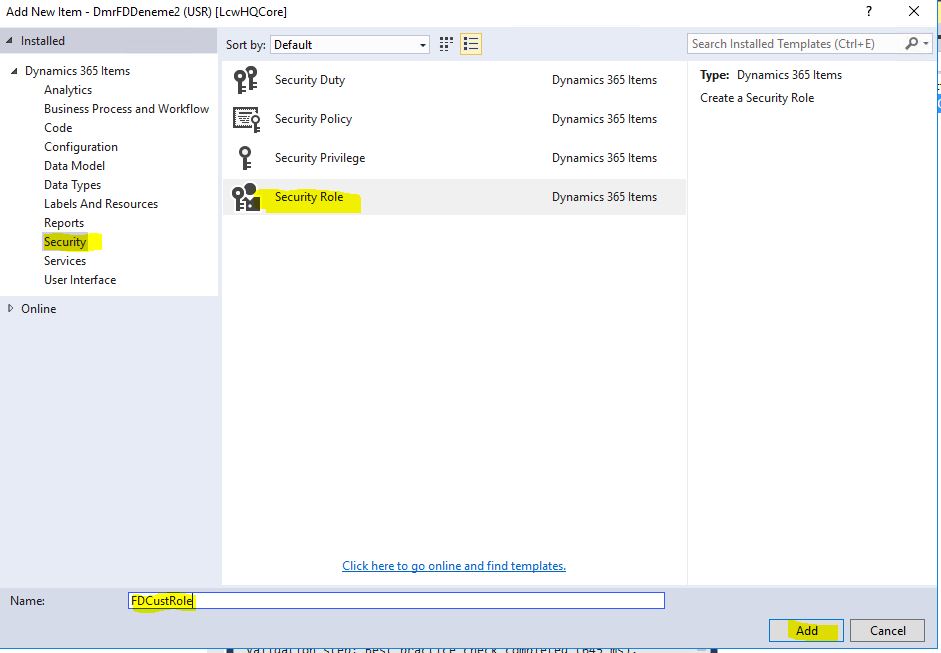
Image-10
If you want, you can grant Privilege directly to the role you created, but it’s best to follow the steps. That’s why we used Duty. You can drag and drop it. The new role is created.
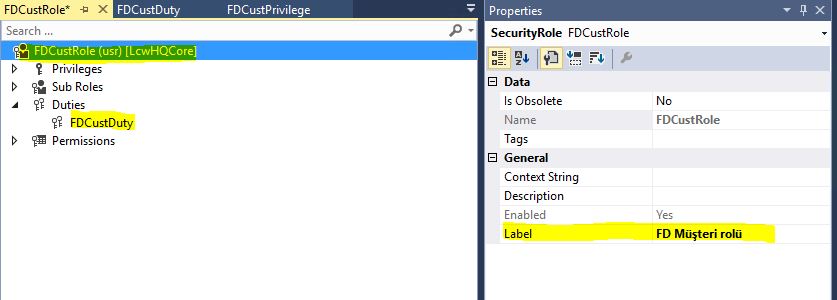
Image-11
In some cases, it may be necessary to clear the Caches. You can call the SysFlusData class as shown in Image-12.
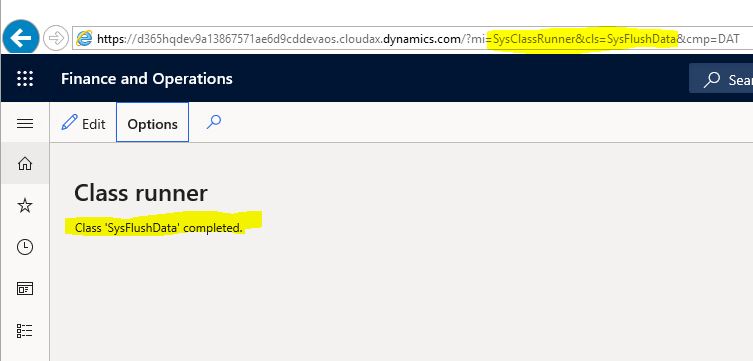
Image-12
Objects you create via VS will not appear directly in the application. I’m not so sure why but they are visible after DB sync. This is actually data. I don’t know why it needs that.
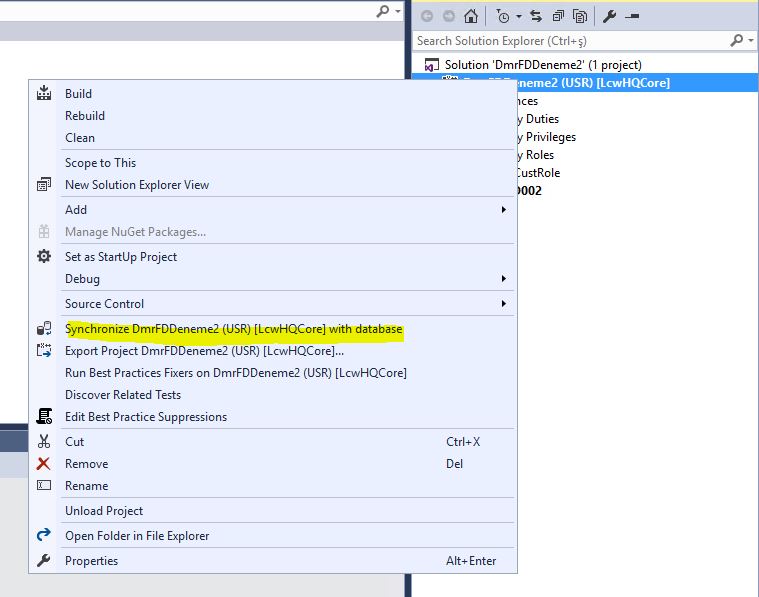
Image-13
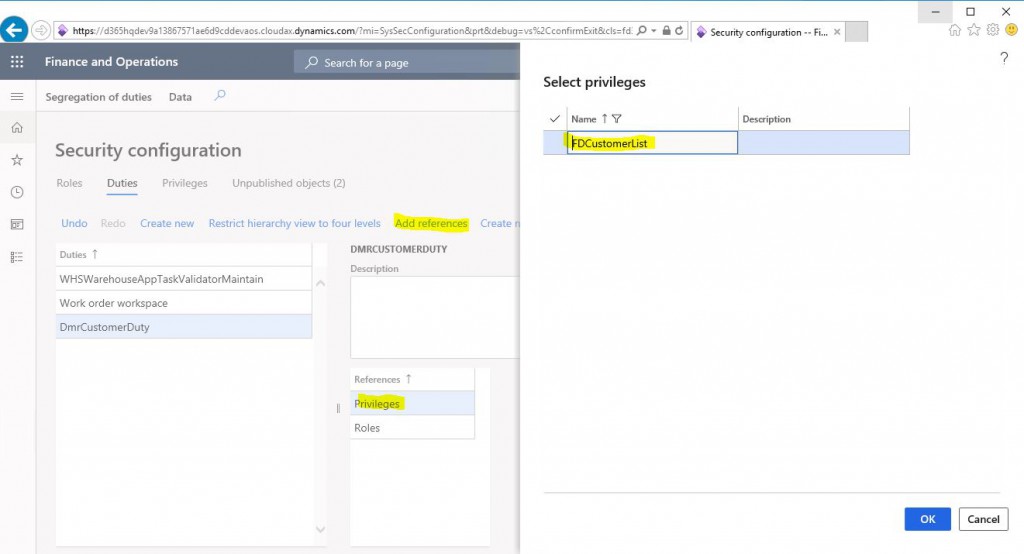
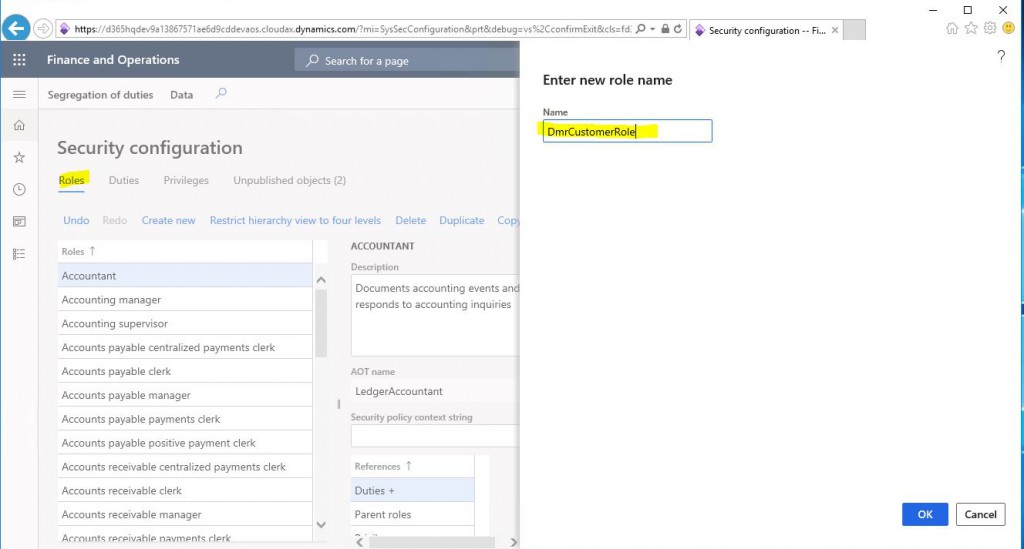
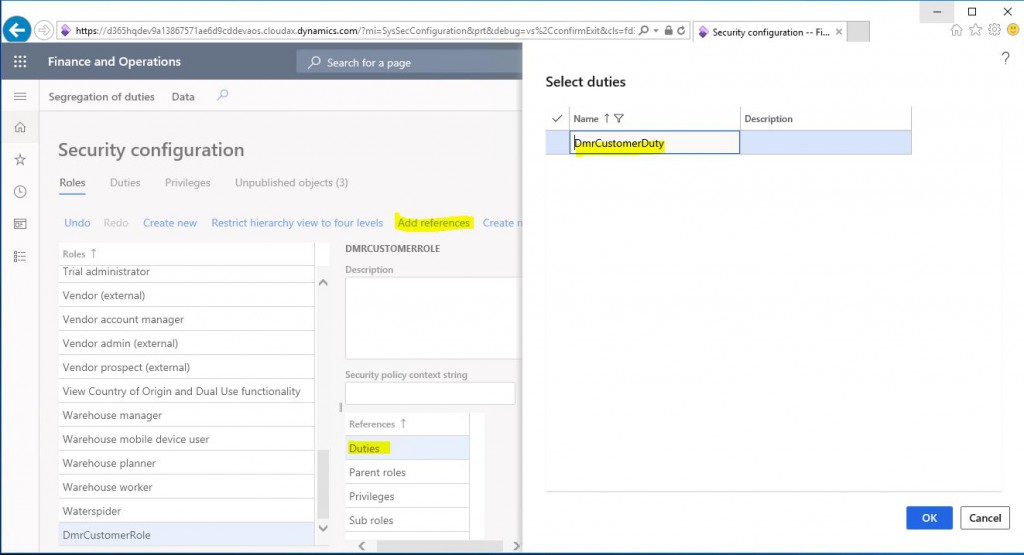
After these operations, you will see the objects you have created when you open the application.
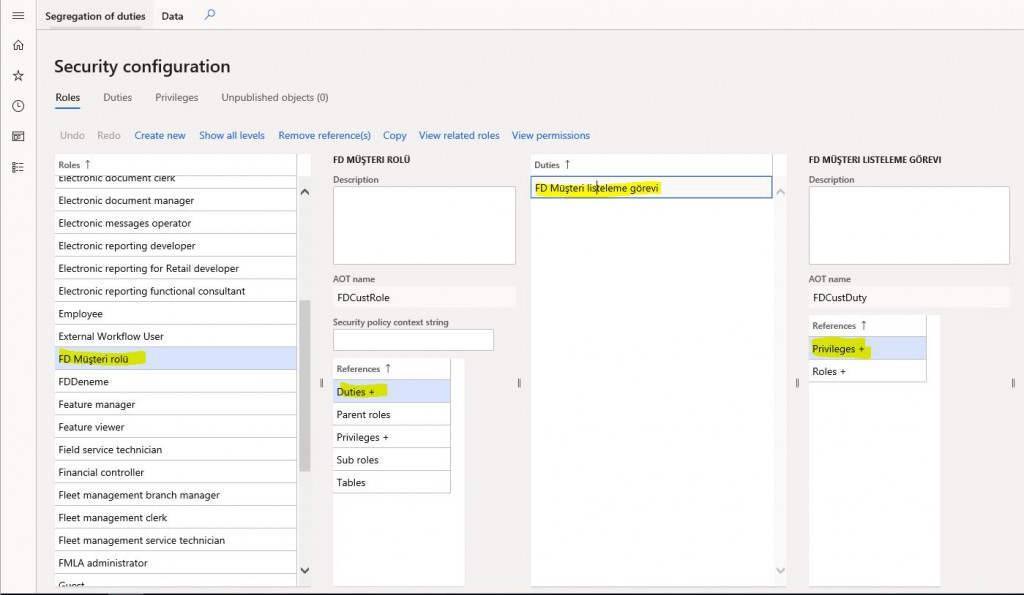
Image-14
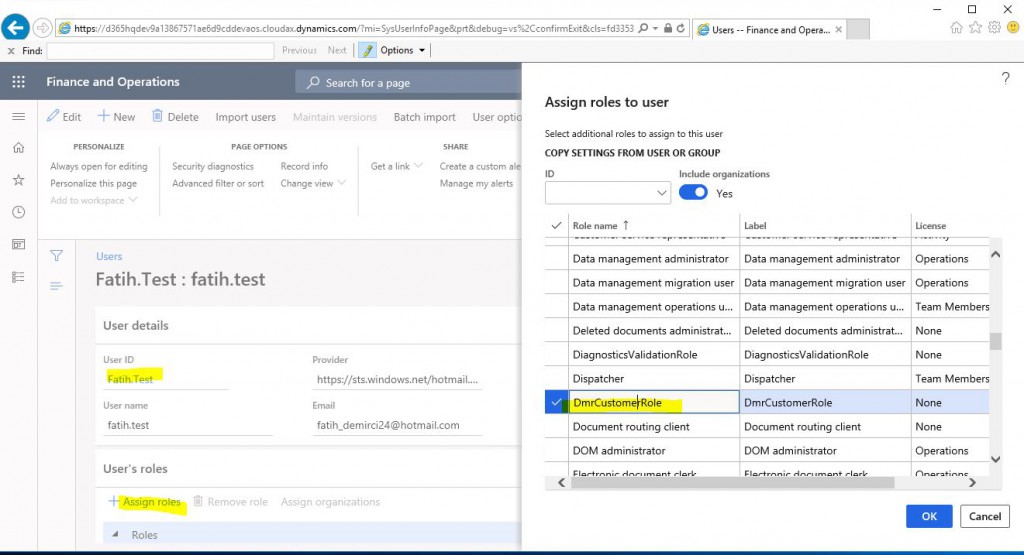
You assign roles to our test user.
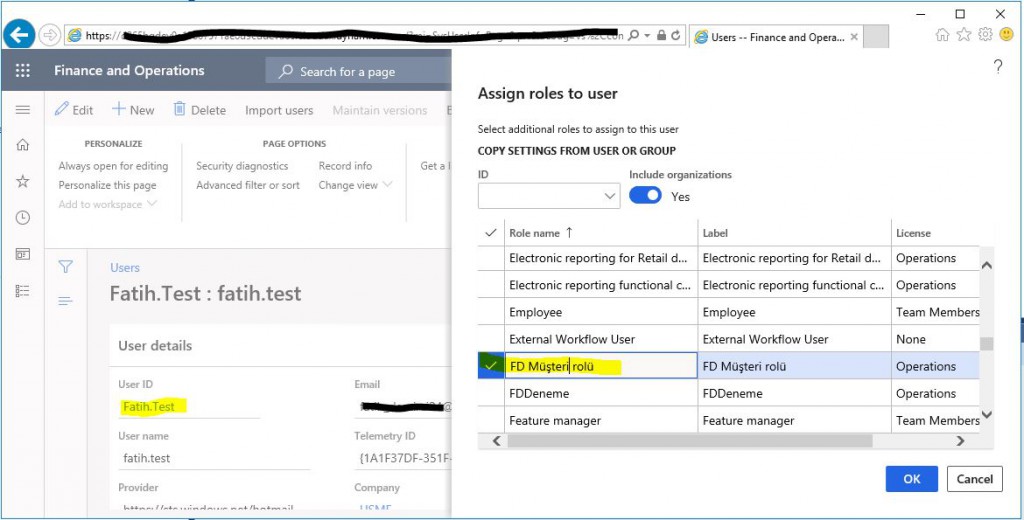
Image-15
When you log in to the application, you can see the All Customers form.
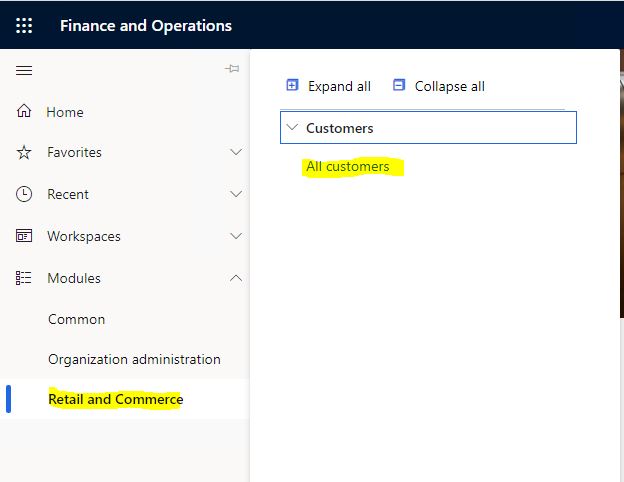
Image-16
In this article, I tried to explain how to create security objects via VS. You must take the security and authorization very seriously. If not set up correctly, it can get messy. Try to manage it from the highest level possible. If you go deep into details, it becomes very difficult to manage. Do it if the new role is really required. Use Duty to get things done as much as possible. Do not assign more than 3-5 roles to a user. Too many roles can lead to performance issues.
Regards.
www.fatihdemirci.net
TAGs: Microsoft Life Cycle Services, LCS, Azure, Azure DevOps, Security , Microsoft Dynamics 365, MsDyn365FO, MsDyn365CE, MsDyn365, Dynamics 365 Insights Power BI, Power Automate, Power Apss, Power Virtual Agents, what is Dynamics 365, Dynamics 365 ERP, Dynamics 365 CRM
