Archive for Aralık 17th, 2019

How to Install and Use Dynamics 365 Finance and Operations Mobile App?

In this article, I will talk about the Mobile app feature that comes with Dynamics 365 Finance and Operations. With Dynamics 365 Finance and Operations, there are many mobile applications that come as standard. You can create new applications, and you can make the existing forms suitable for mobile. I will also explain new mobile application creation process in the following articles. In this article, I will publish a few applications and try to show them through the application I installed on my Android phone.

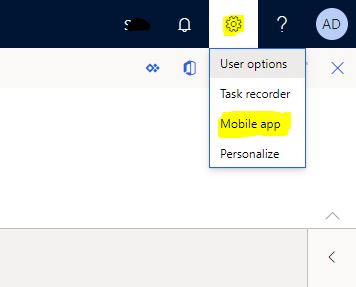
First, log in to Dynamics 365 Finance and Operations. Click Mobile app from the settings.

Image-1

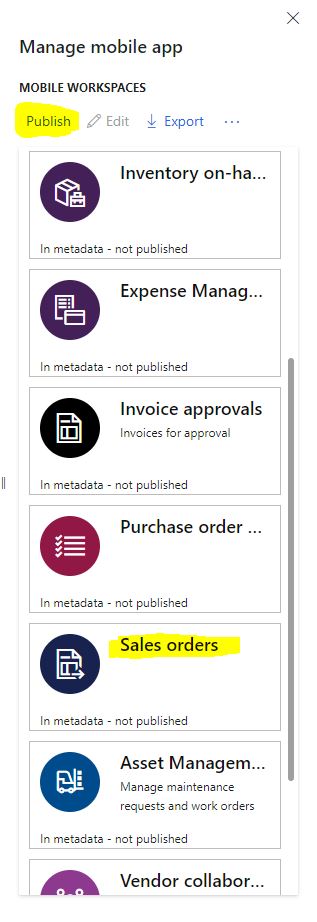
Available mobile apps will be listed.  You can select the ones you want and Publish.

Image-2

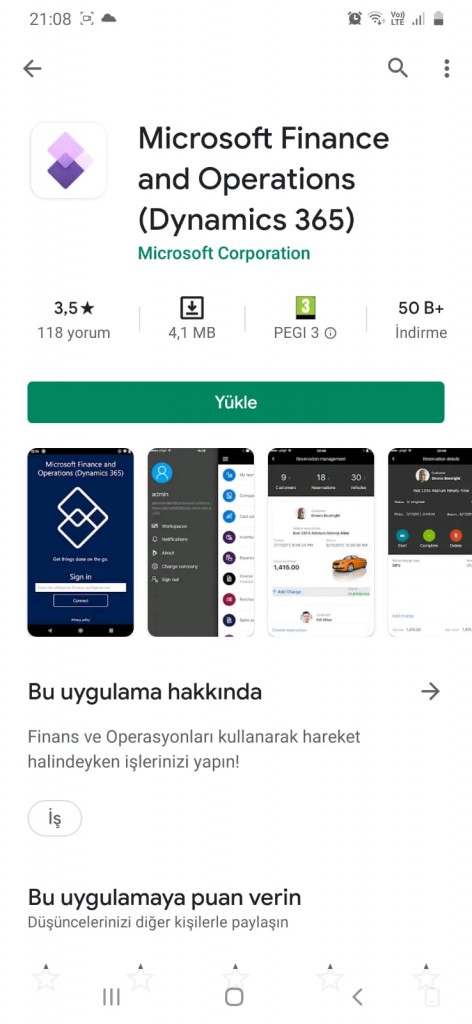
For Android, search for Microsoft Finance and Operations (Dynamics 365) in the Google Play Store, search for Finance and Operations (Dynamics 365) in the App Store for Apple and install the application. I installed it on Android.

Image-3

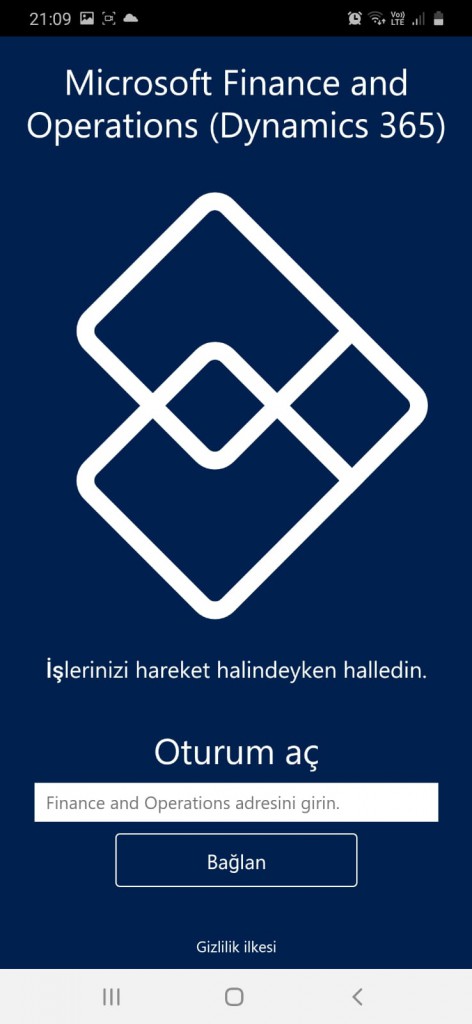
After the installation is complete, open the application. Enter the link of the environment you want to connect to and click Connect.

Image-4

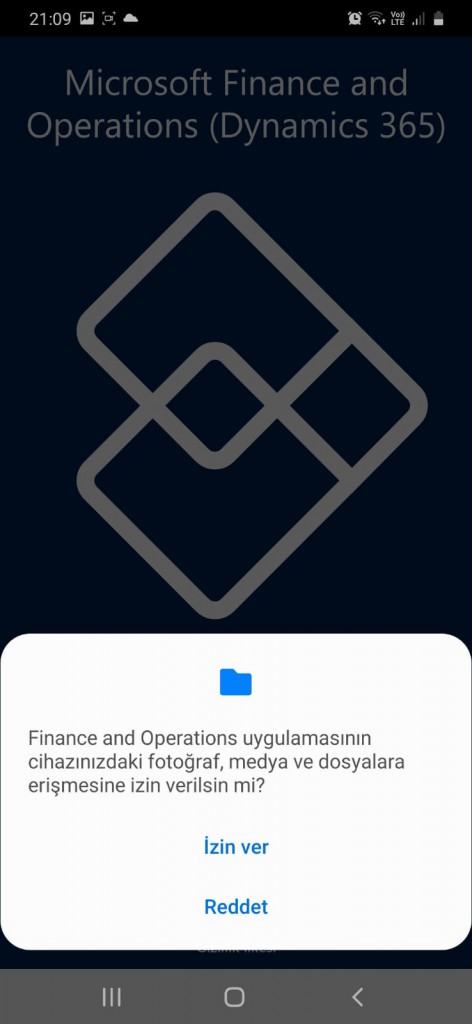
Here you need to grant permissions.

Image-5

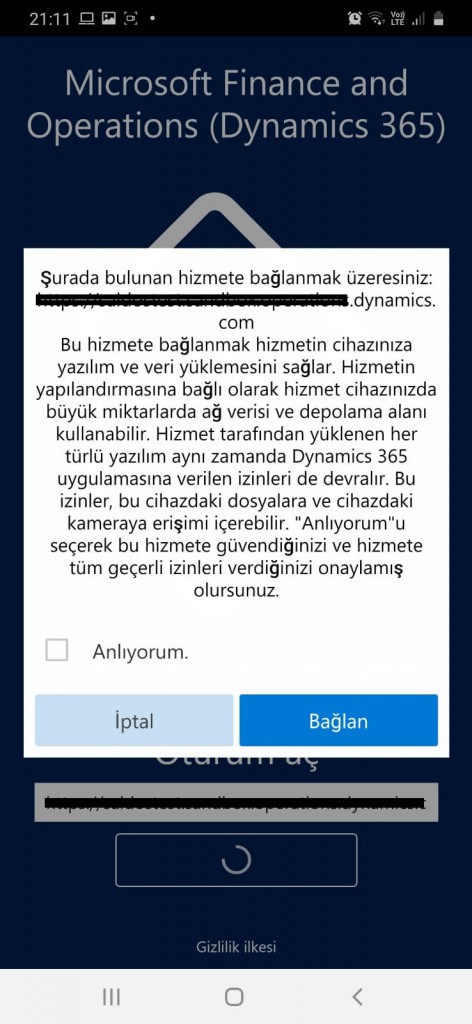
You have to check I Understand and tap Connect. You will need to enter the user and password on the screen that appears.

Image-6

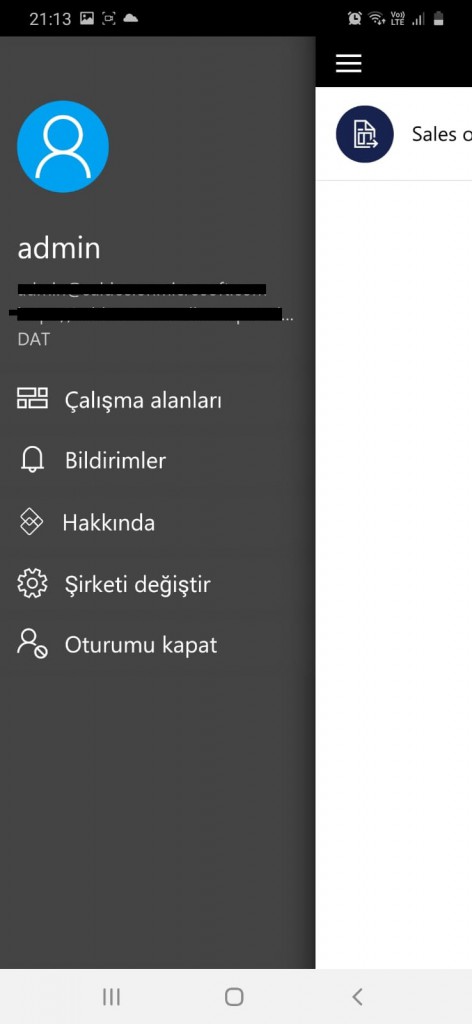
The application is ready. First let’s select a company. Click on Change company from the hamburger menu.

Image-7

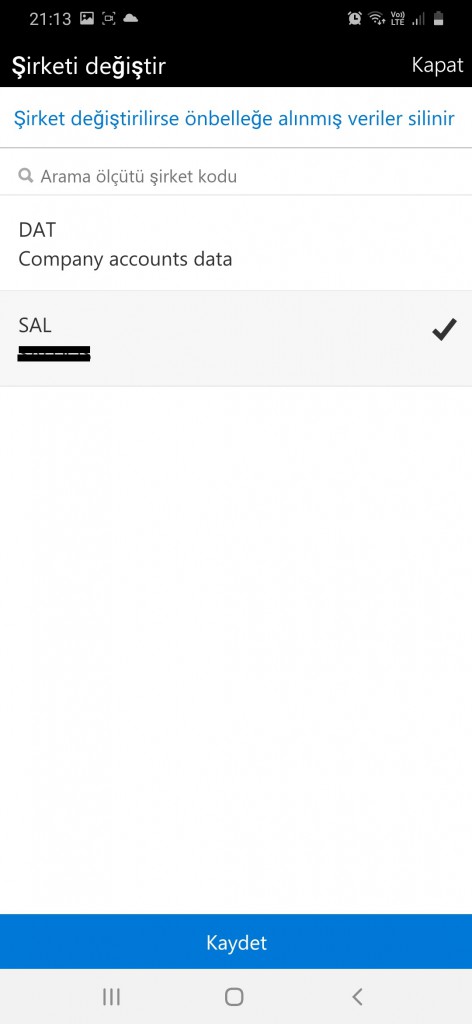
Companies will be listed here. Dat is not used because it is the default company. Here you can select the company you want to work with.

Image-8

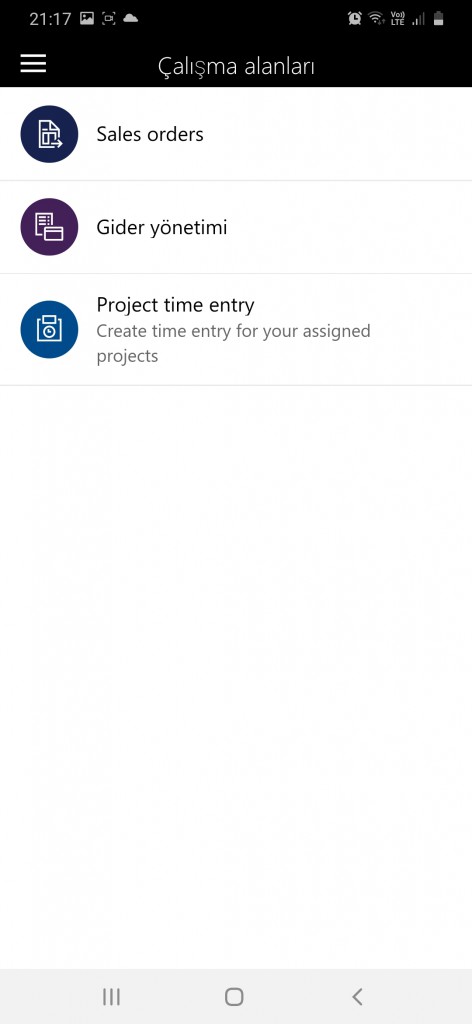
When you go to the workspace, you will see the applications you Published. You can now start using it. I opened the Project Time Entry application.

Image-9

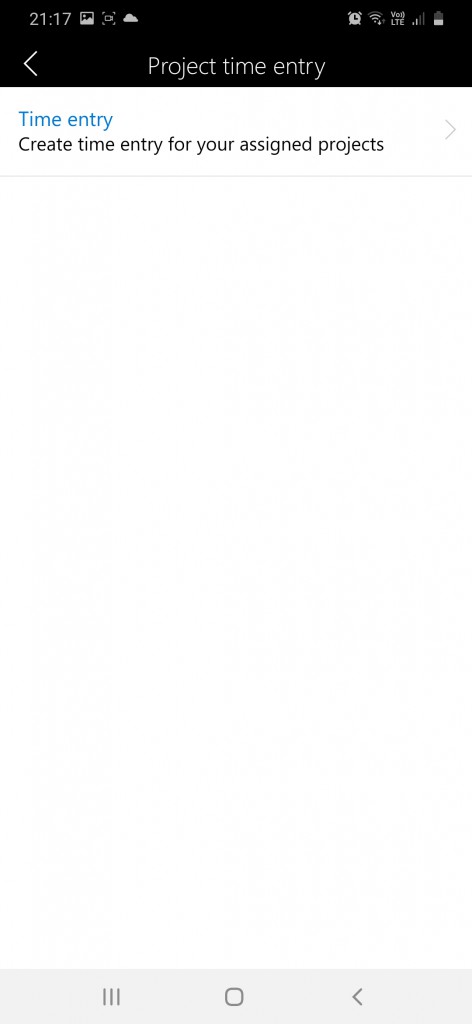
Once you enter it, a new login page link appears.

Image-10

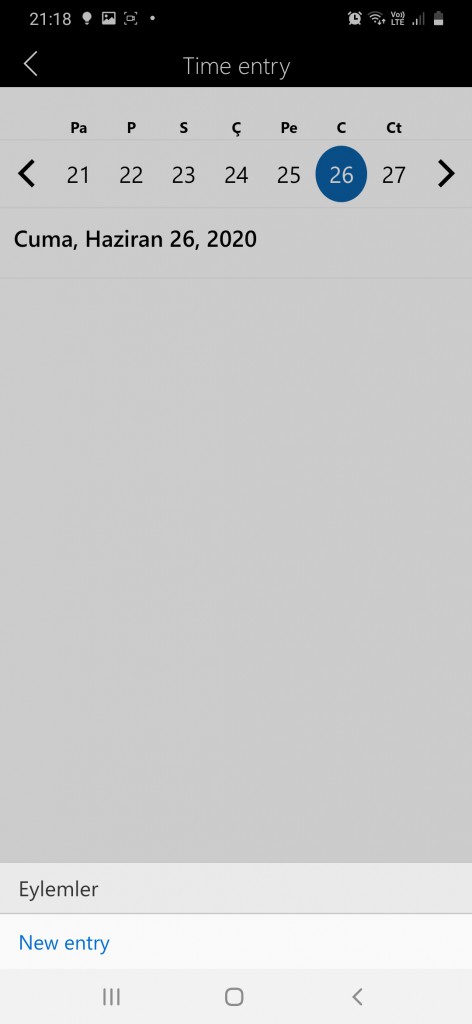
When you click it, the date selection screen opens. I opened the screen for creating a new record with New Entry below.

Image-11

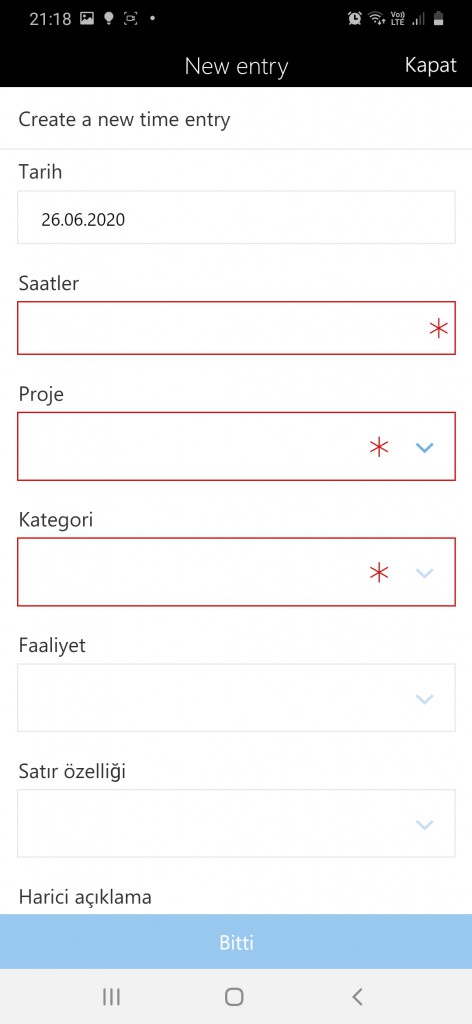
This is the new record entry screen. Records entered here will appear directly in your Dynamics 365 Finance and Operations environment. Since I do not want to corrupt the data in the environment I use, I did not log in.

Image-12

In this article, we made an introduction to the Mobile App. I tried to explain how we can start publishing and using the installation and standard mobile applications. In my next articles I will try to explain how you can make your own mobile applications.

Regards.

www.fatihdemirci.net

TAGs: Microsoft Life Cycle Services, LCS, Azure, Azure DevOps, Mobile App, Microsoft Dynamics 365, MsDyn365FO, MsDyn365CE, MsDyn365, Dynamics 365 Insights Power BI, Power Automate, Power Apss, Power Virtual Agents, what is Dynamics 365, Dynamics 365 ERP, Dynamics 365 CRM
How to set up Azure Auto-shutdown for your Dynamics 365 Cloud Hosted machines?

With Dynamics 365, we met Developer VMs and since they work on a pay-as-you-go logic, they must be closed when you are not working with them. Especially in projects where multiple software developers are working, it is useful to arrange the virtual machine opening and closing in order to avoid problems in terms of cost and time management. In this article, I will explain the Auto-Shutdown feature that comes with Azure. I will also talk about a product you can use for more advanced adjustments.

First, let’s talk about Azure Auto-shutdown. This feature allows you to automatically shut down your virtual machines at a certain time every day. It also allows you to take special action with notification emails. Let’s take a quick look at how to set up and get notifications.

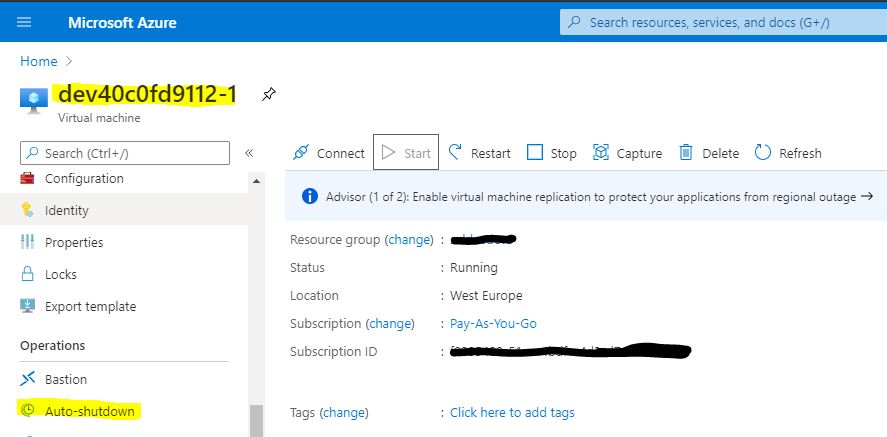
Enter the Azure Portal and choose your virtual machine. Click on Auto-shutdown from the menu.

Image-1

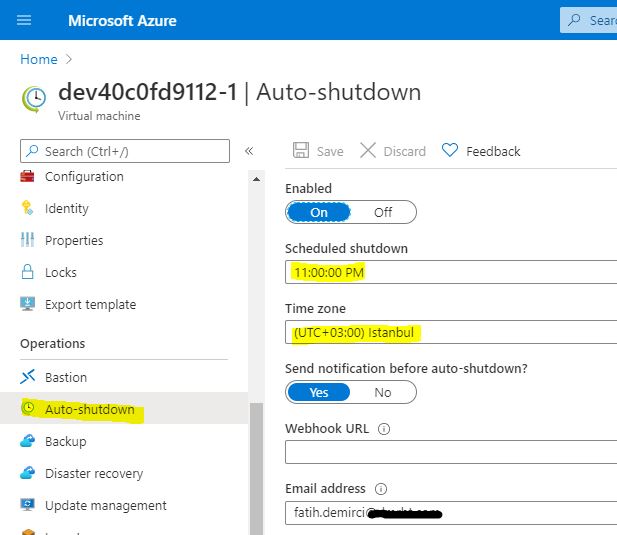
On the page that opens, we set the Enabled section to On.  Select the time and time zone you want it to turn off. Send notification before auto-shutdown? This is very useful. Sometimes it is necessary to work overtime, or a process that you run takes a long time. In such cases, notification and postponement links in the notification make it easier. You can send these notifications to a service over a web with Webhook URL. I have never used this. I usually use the Email Address. You can add as many e-mails as you want with semicolons. After completing the definitions, you can save them by clicking Save.

Image-2

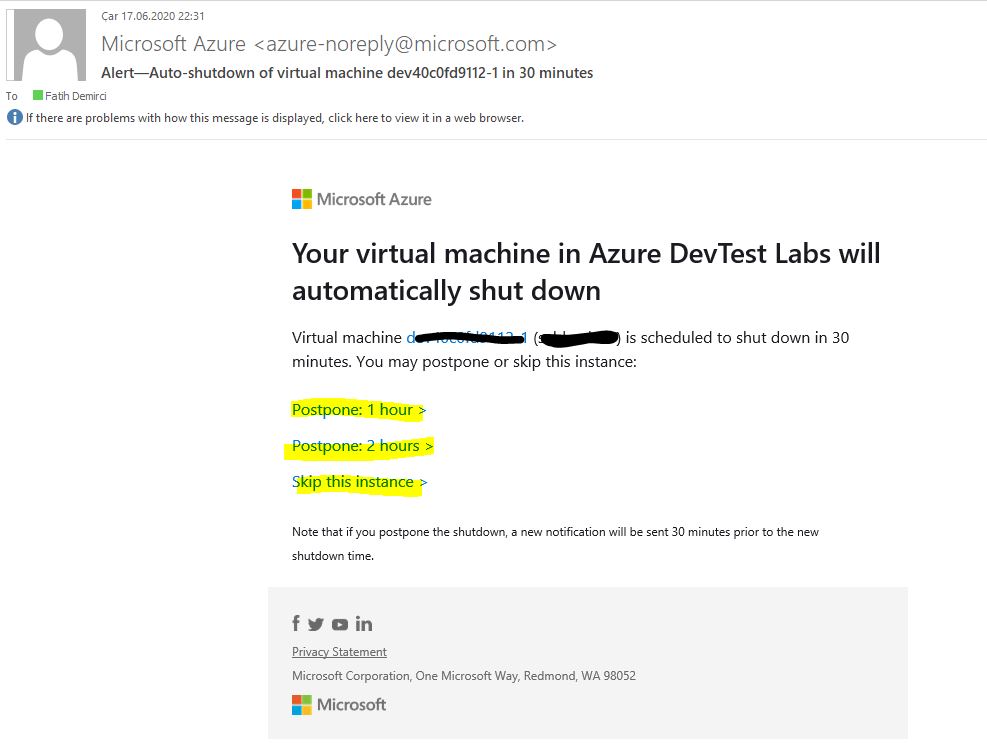
When it’s time to shut down, you will receive an email like the one below. Using the links, you can postpone it for 1 or 2 hours, or skip it for once.

Image-3

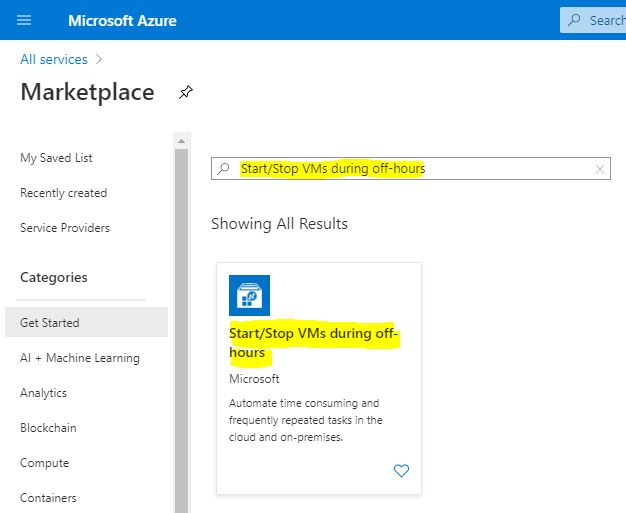
As the name suggests, Auto-shutdown does not have a mechanism to open the virtual machine, it only performs shutdown. You can use the Start/Stop VMs during off-hours option in Azure Marketplace for this.

Image-4

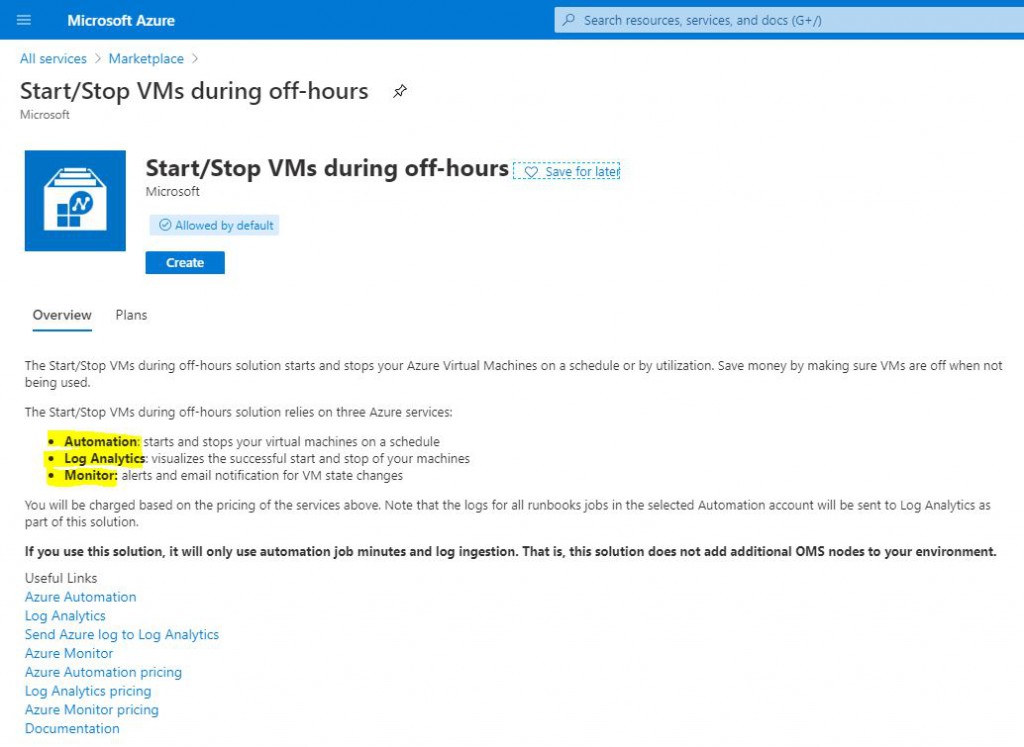
It tells you what you need when you open it and how to activate it. Just start with Create and follow the steps. It has a simple setup, so I will not go through it step by step. Thanks to this tool, you can turn off/turn on your VMs at any time. For example, if the work starts at 9:00, it would make sense to open it at 8:30.

Image-5

In this article, I talked about the Azure Auto-shutdown tool used to automatically shut down your virtual machines and the Start/Stop VMs during off-hours tool that can also do a turn on operation. It is beneficial to build these tools well in order to manage costs effectively.

Regards.

www.fatihdemirci.net

TAGs: Microsoft Life Cycle Services, LCS, Azure, Azure DevOps, Azure Auto-shutdown, Microsoft Dynamics 365, MsDyn365FO, MsDyn365CE, MsDyn365, Dynamics 365 Insights Power BI, Power Automate, Power Apss, Power Virtual Agents, what is Dynamics 365, Dynamics 365 ERP, Dynamics 365 CRM
How to give Dynamics Deployment Services Account authorization to Microsoft Azure Subscription in order to deploy Dynamics 365 Finance and Operations?

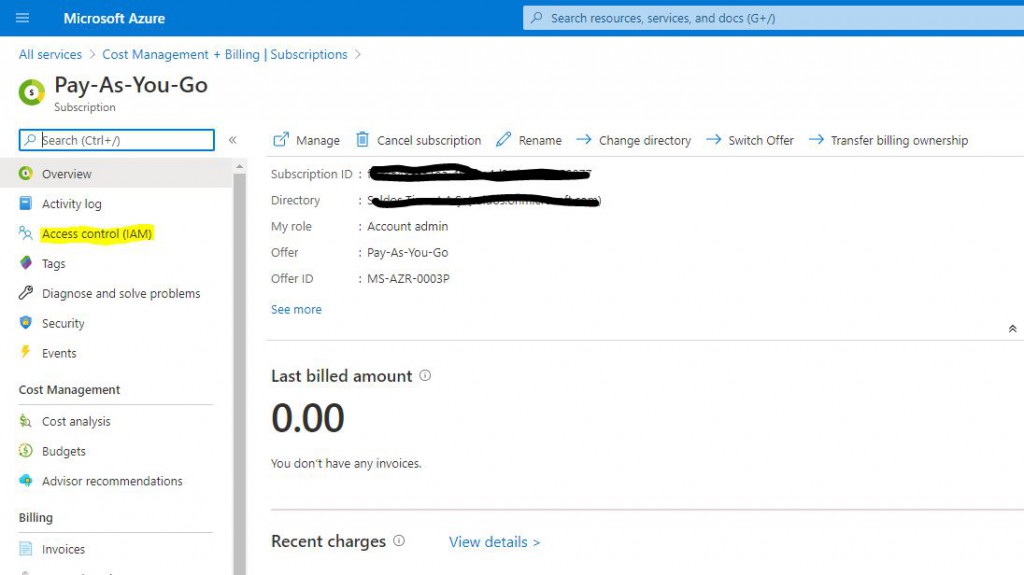
In this article, I will describe step by step how to authorize Dynamics Deployment Services Account, which is necessary to deploy a new environment via LCS. First, log into Azure Portal with the Admin account. Open Cost Management +Billing > Subscriptions.

Image-1

Select the subscription you want to authorize and click on Access control (IAM) from the screen that opens.

Image-2

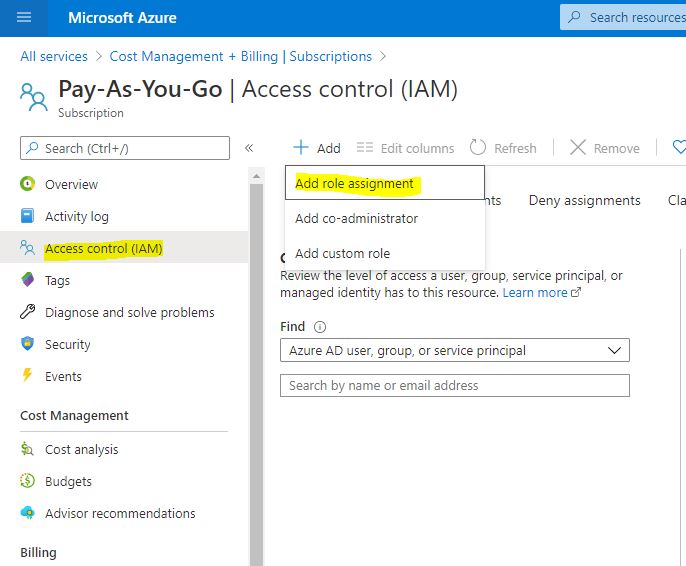
Open the new role definition window by clicking on Add> Add role assignment.

Image-3

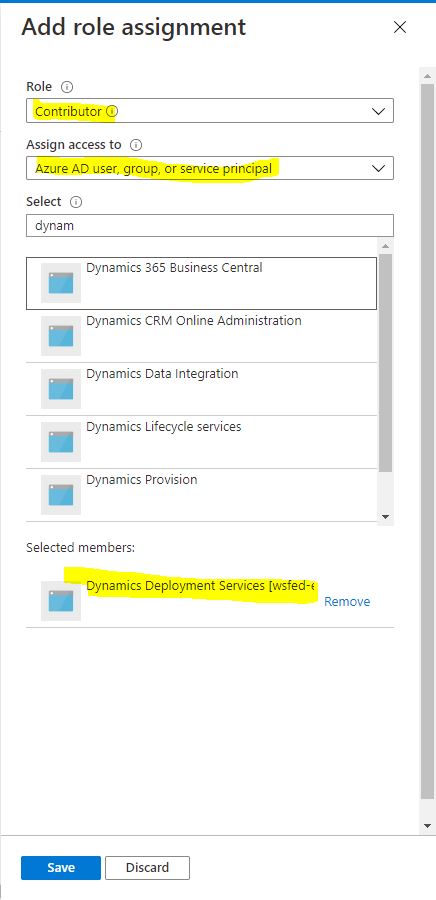
In the window that opens, select Contributor as Role. In the Assign Access to section, select Azure AD user, group, or service principal. When you type Dynamics in the Select section, the options will be automatically available. From there, select Dynamics Deployment Services [wsfed-enabled] and click save.

Image-4

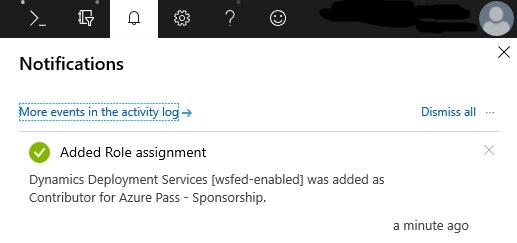
When the process is completed, you will see the information below.

Image-5

In this article, I tried to explain how the Dynamics Deployment Services Account is authorized over Azure, which is one of the necessary steps to deploy a new environment. This step is usually skipped and an error is received in the Deploy operation over LCS. It is useful to give this authorization beforehand.

Regards.

www.fatihdemirci.net

TAGs: Microsoft Life Cycle Services, Dynamics Deployment Services Account, LCS, Azure, Azure DevOps, Project onboarding, Microsoft Dynamics 365, MsDyn365FO, MsDyn365CE, MsDyn365, Dynamics 365 Insights Power BI, Power Automate, Power Apps, Power Virtual Agents, what is Dynamics 365, Dynamics 365 ERP, Dynamics 365 CRM