How to deploy a new X++ development VM for Dynamics 365 Finance and Operations?
In this article, I will try to explain step by step how to deploy a new virtual machine for new X++ developments. In this example, I will explain how to do this in a client environment. It has a similar logic in virtual machines for partner or educational purposes.
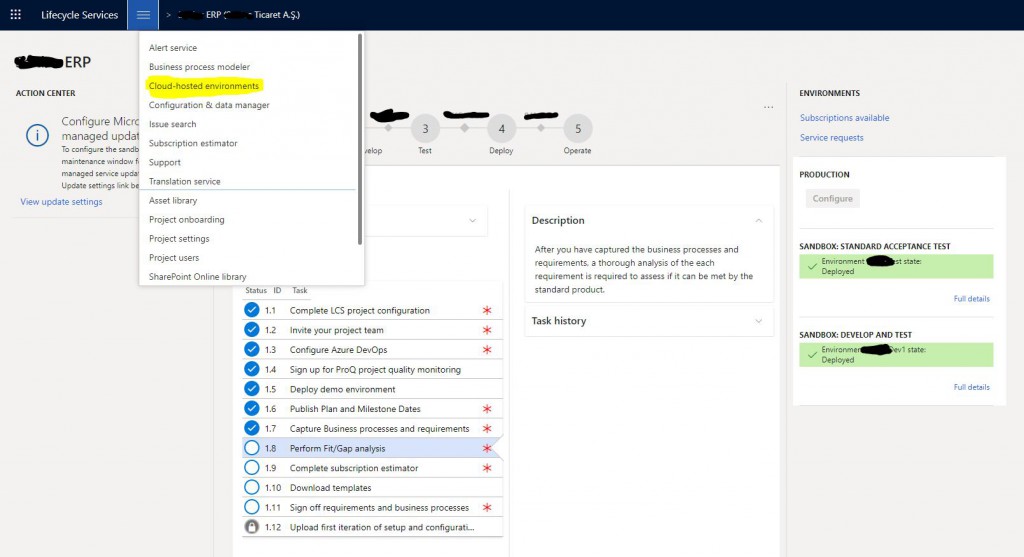
First, we log in to Lifecycle Services. Select your project and select Cloud-hosted environments from the hamburger menu.
Image-1
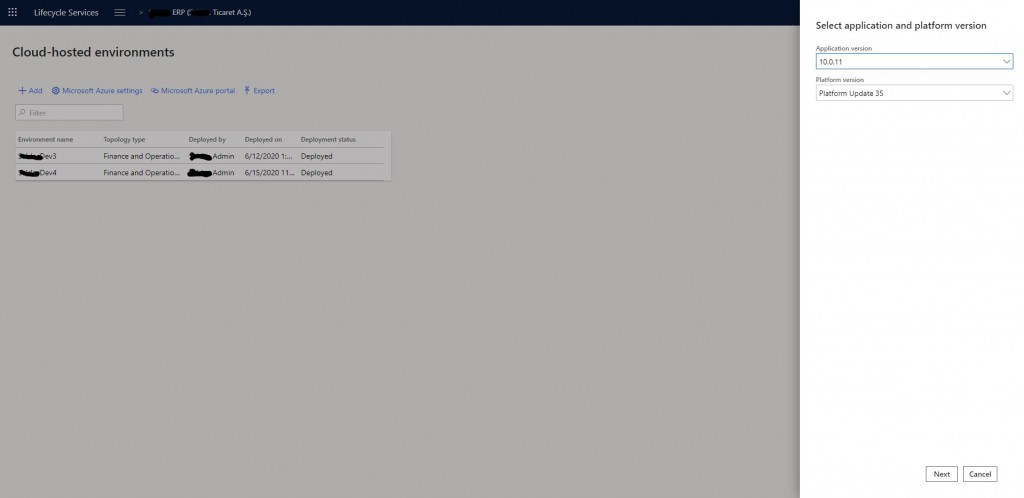
A page will open and list your environments. Here you can view the details and manage their status. For a new environment, click the + Add button.
Image-2
The first screen that opens has Application Version and Platform Version. You usually select the most recent one. Of course, you should select the version of your environment here. Click Next to proceed.
Image-3
Here you select the type of the environment. Available options are Demo and DevTest. For development, you should select DevTest.
Image-4
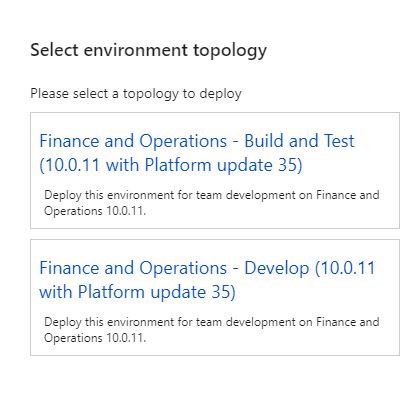
There are two options here. First one is used for Build or Test. For development, you should select Develop. For additional Test or Build environments, you should use the option above.
Image-5
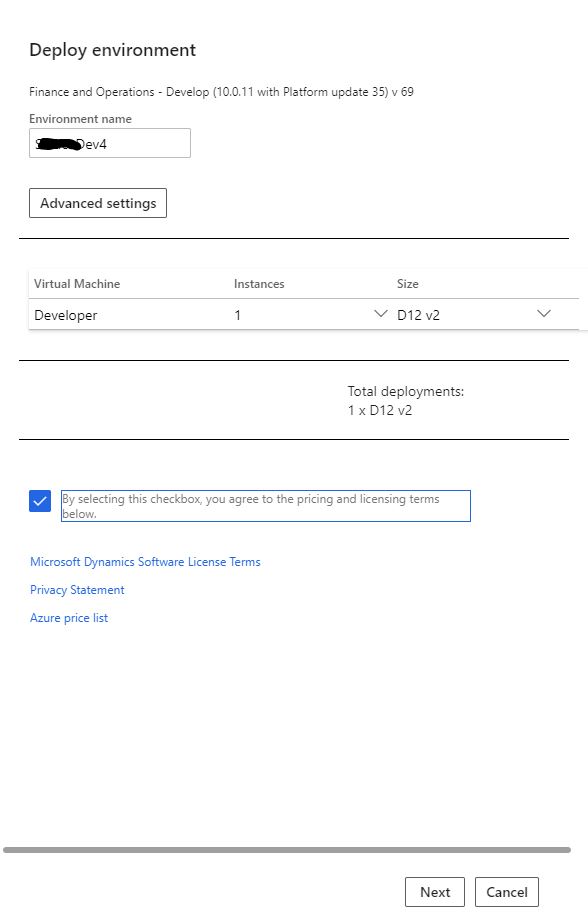
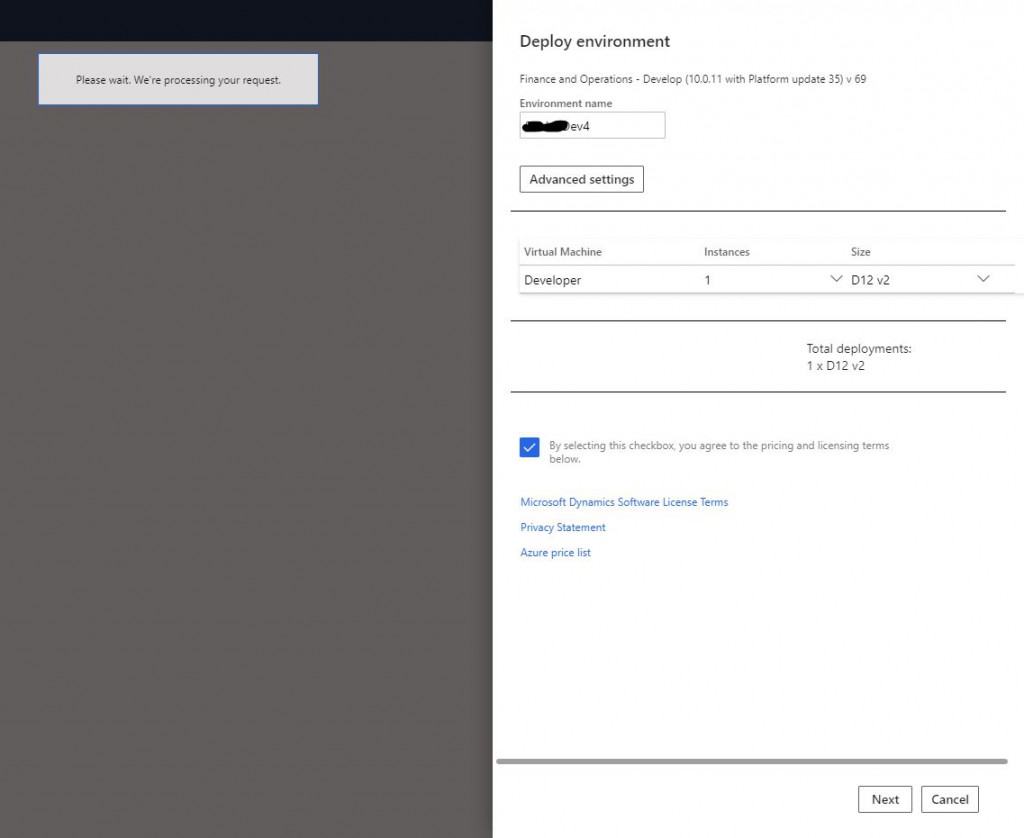
Here you can adjust the environment settings. First give a name. This name is not virtual machine’s name. We will set it from the advanced settings. The most important option is D12 machines that are recommended for you, but if you want it to be a little faster and money is not an issue, definitely choose D13. Think of it like D13 is exactly twice as D12 in terms of money and configuration. You can view the advanced settings by clicking Advanced Settings.
Image-6
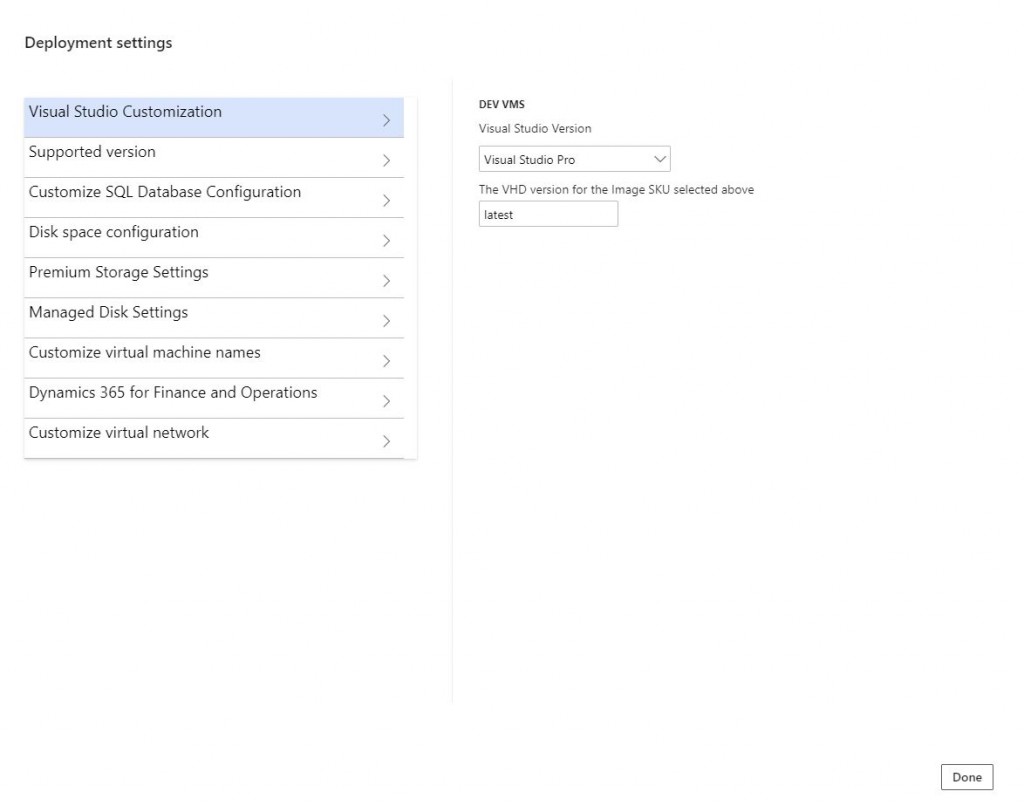
You can make advanced settings from the screen that opens. You don’t need to change many settings. I will talk about the important ones. Visual Studio Version has two options. Pro and Enterprise, use whichever suits you best.
Image-7
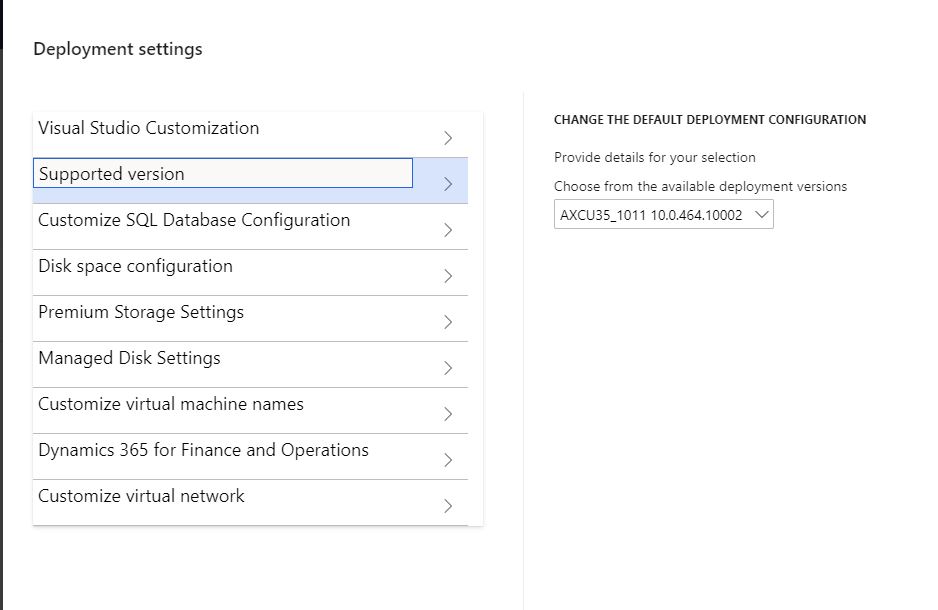
Here you can find the details of the version. Generally, you need to keep all development versions the same.
Image-8
Here you can choose whether you want Demo data in your environment. Generally, this is not necessary for the customer environment. If you are going to use Management Reporter, you can select demo data for it as well.
Image-9
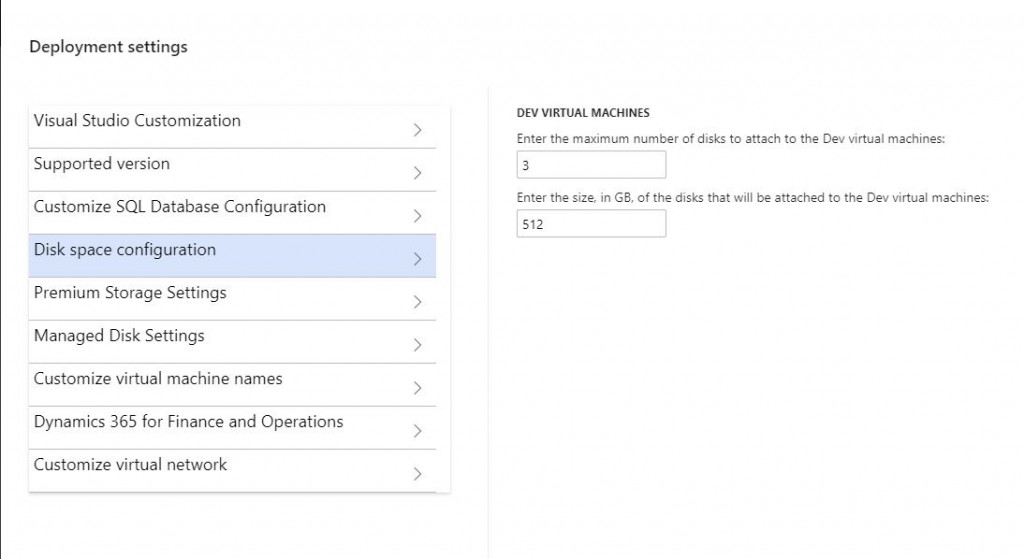
In this section you can adjust the disk sizes. These settings are sufficient for general improvements.
Image-10
You can enter the virtual machine name here. If you leave it blank, it automatically assigns a name, and it’s not a good one.
Image-11
After completing the settings, you can start the deploy process by clicking Next.
Image-12
You will then be able to see your new environment in Deploying status in the list below. It usually takes 3-4 hours to complete. I’ve seen it take less. I did not start Deploy because it was not needed for this environment. When these steps are done, the virtual machine will be ready. Even if you see the virtual machine when you go to the Azure side, do not try to open it before the process is completed. In order to properly use the environment, this must be Deployed.
Image-13
In this article, I briefly explained how to deploy a new development machine and I will explain the necessary settings to start developing on this machine in my next articles.
Regards.
www.fatihdemirci.net
TAGs: Microsoft Life Cycle Services, LCS, Azure, Azure DevOps,X++, Project onboarding, Microsoft Dynamics 365, MsDyn365FO, MsDyn365CE, MsDyn365, Dynamics 365 Insights Power BI, Power Automate, Power Apss, Power Virtual Agents, what is Dynamics 365, Dynamics 365 ERP, Dynamics 365 CRM
